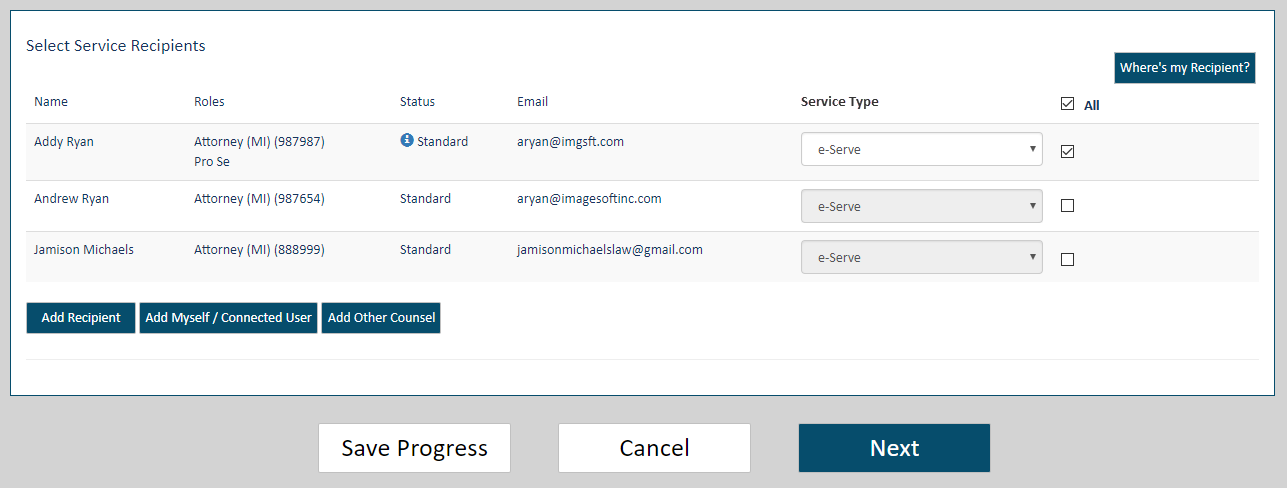
On the Upload pane, scroll to the bottom of the page.

Click Next.
Your filing bundle will be validated. See Filing and Bundle Validation to view possible validation errors.
If no errors are present, this dialog is displayed.
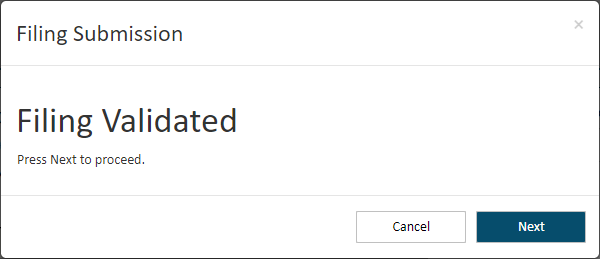
Click Next. The Checkout dialog is displayed.
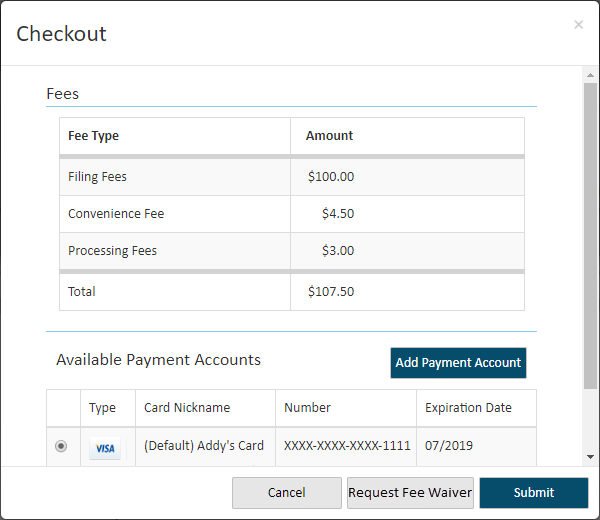
See What Fees are Charged? for details on the fees that may be applied to your filing bundle.
In the Checkout pane, confirm the fees listed are correct.
You can request that the fees associated with your case be waived. The court you're filing in must permit fee waivers, and it will determine which waiver options are available.
If you identified a default payment account, that account is listed first in the Available Payment Accounts section and is auto-selected. See Specify a Default Payment Account.
Select the appropriate Payment Account. If no payment accounts are listed, click the Add Payment Account button. Learn how to add a new payment account.
You don't have to select a payment account if the Total is $0.
Depending on court configuration, a payment account can be a credit card, escrow account, or Inter Agency Transfer account. Escrow and Inter Agency Transfer accounts must be authorized by the court. Refer to the Glossary for more information on these account types.
If you select an Inter Agency Transfer account, the
court must be configured to support that payment type. If it's not,  an
error dialog is displayed after you click the Submit button on the Checkout dialog.
Click OK to close the dialog.
You'll be returned to the Upload page.
Expired payment accounts are identified as such
on the  Checkout
dialog and cannot be selected for payment.
Click Submit to submit your filing bundle to the court.
If an error occurred during submission, this dialog is displayed:
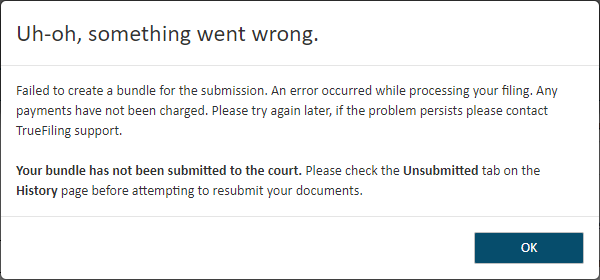
IMPORTANT: Your filing documents were NOT submitted to the court. Select the Unsubmitted tab on the History page to access your filing bundle before attempting to resubmit.
If your filings are successfully submitted, this dialog is displayed.

Click OK to proceed.
On the History page, your submitted filing will be listed on the My History tab, even if you submitted the filing on a connection's behalf.
If you selected to serve your filing, the court may be configured to display this message after submission.
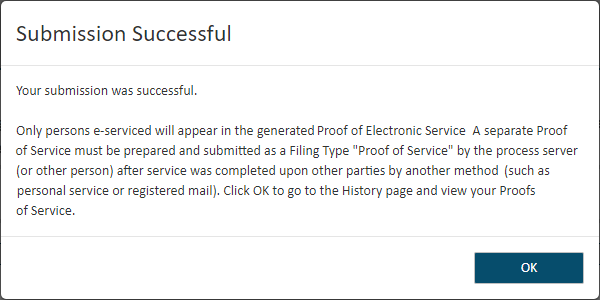
Click OK to close the dialog. You'll be re-directed to the History page. There, you can locate your filing on the My History tab and view / download your Proof of Service.
Once your filing is received by the court, the Clerk will review it and either accept or reject it.
If it's accepted, the Clerk will file it, and it will become part of the official case record. You can then download a Filed stamped copy of the filing for your records.
If it's rejected, you'll be notified via text message or email (provided your notification settings are appropriately set).
See also Filing and Bundle Validation